
Lists with pagination in SwiftUI
2020-05-26
Introduction
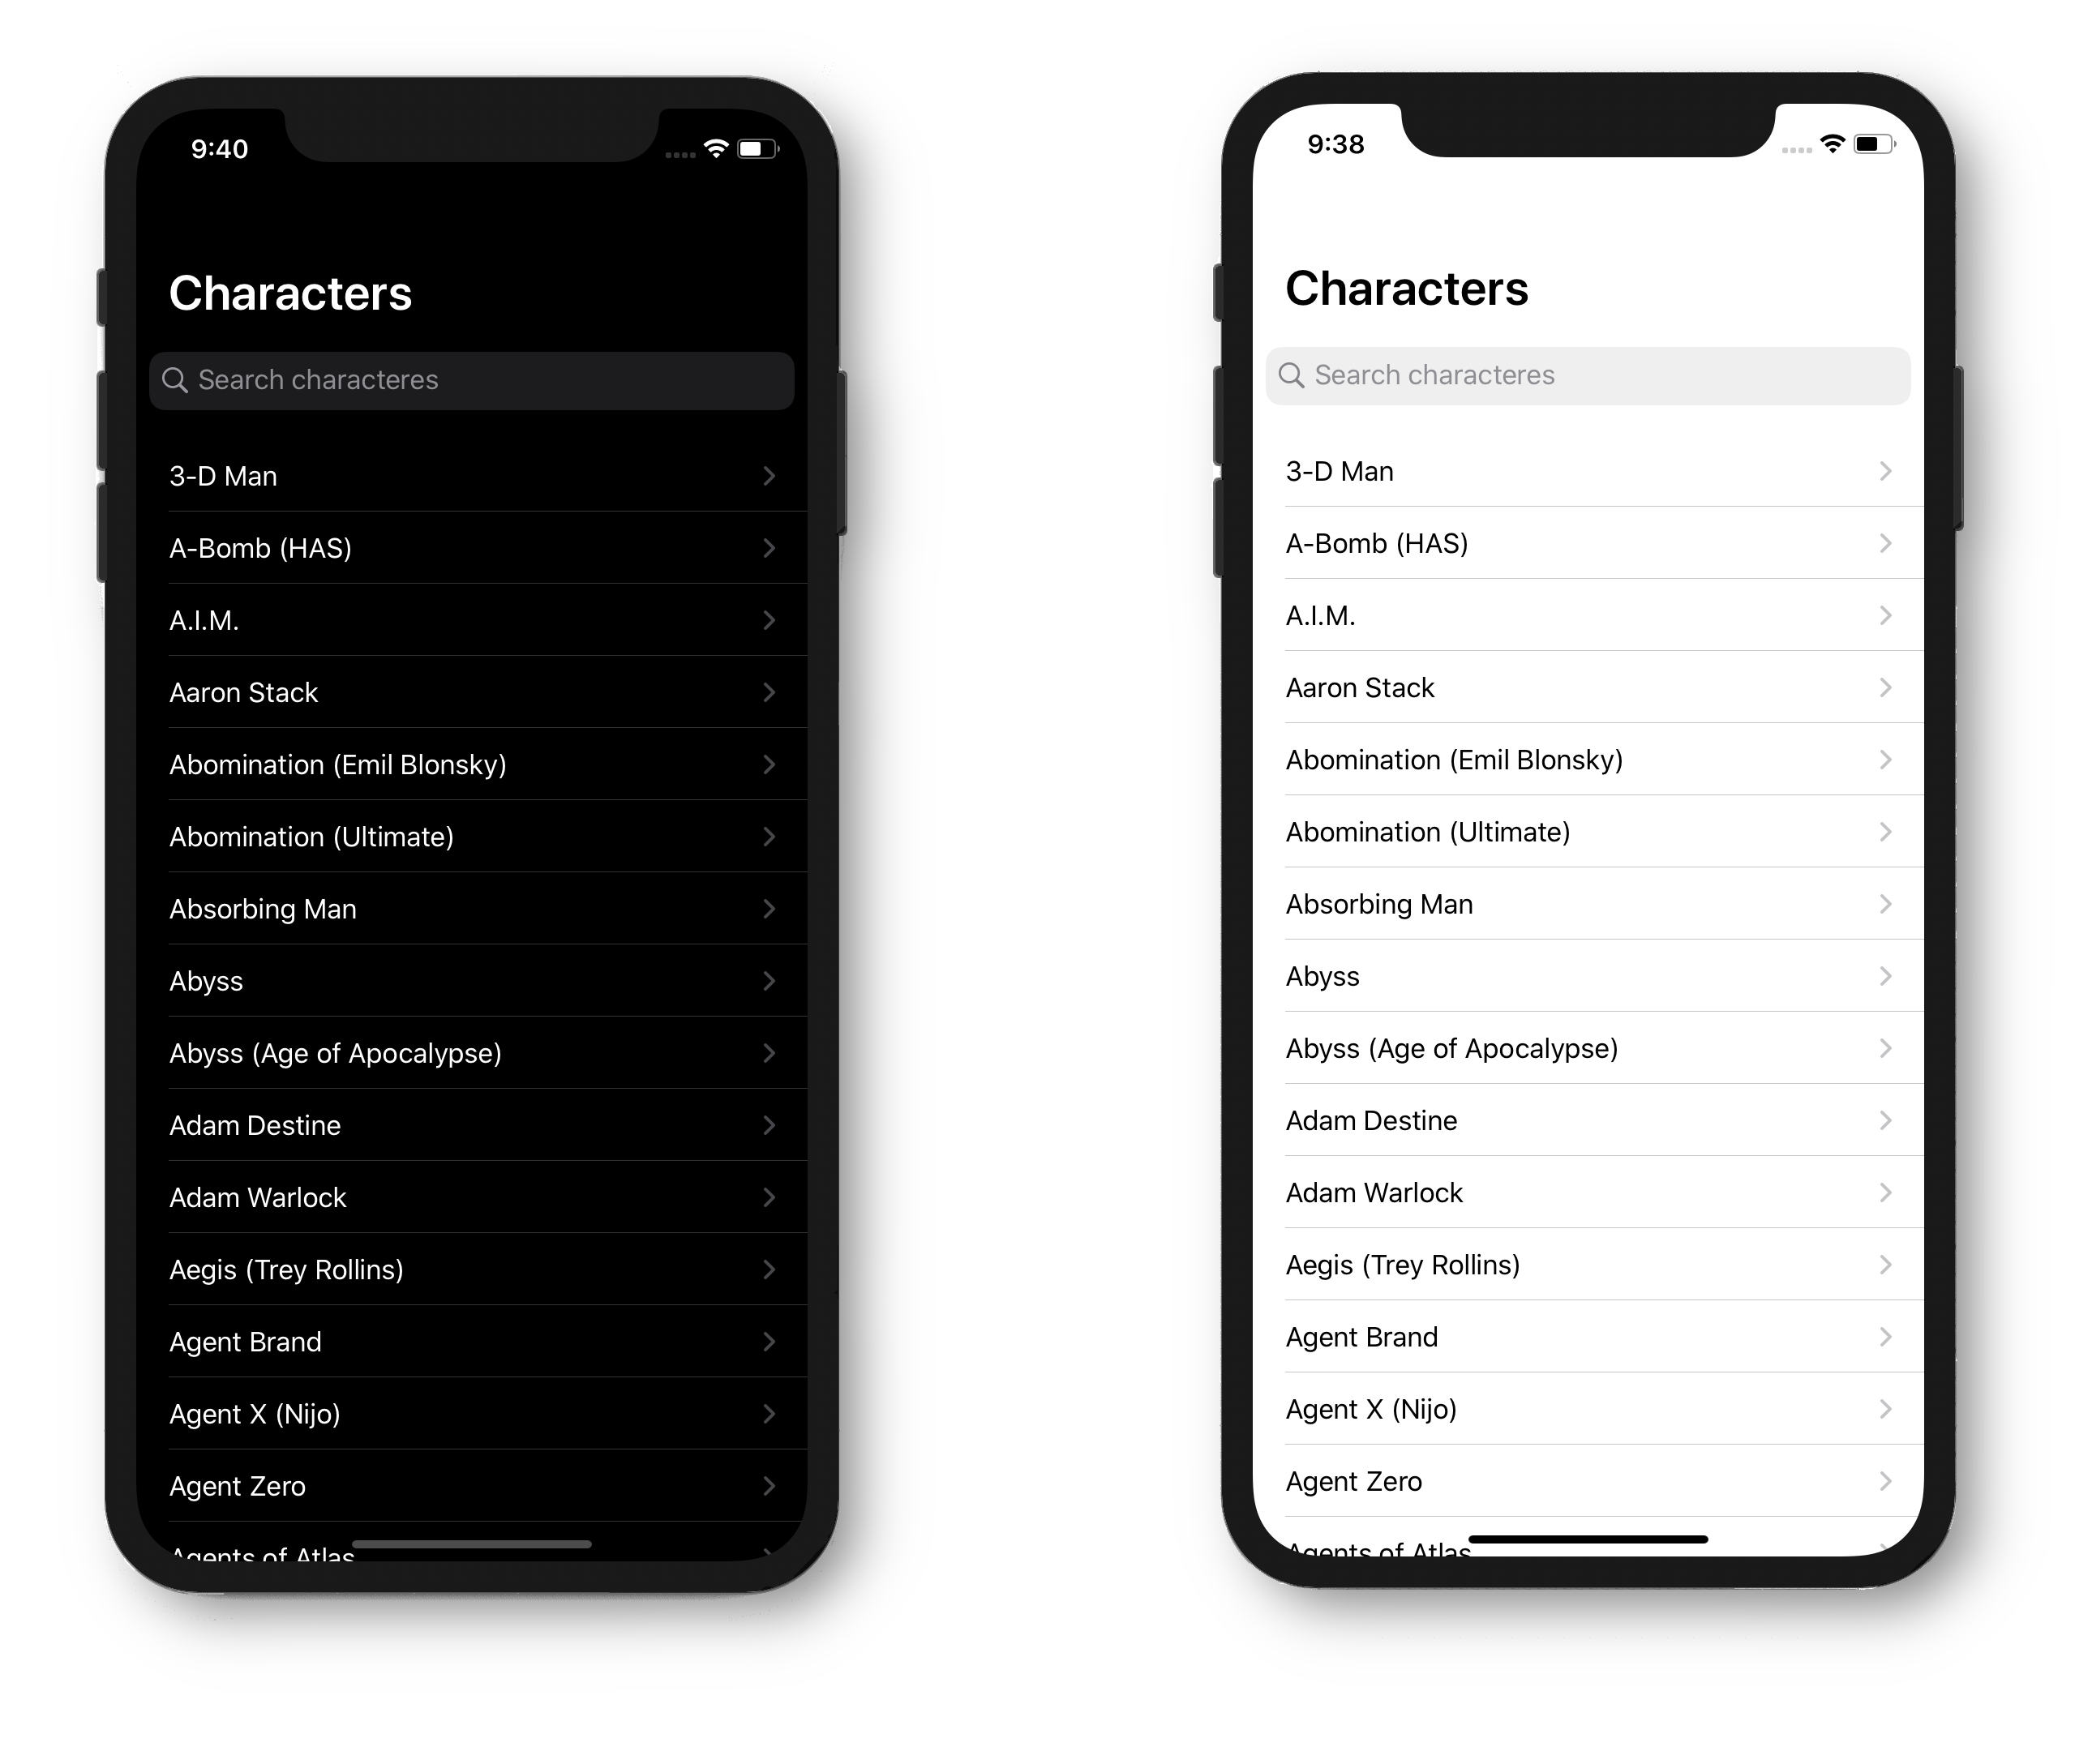
The most common component of SwiftUI is a list (List), but SwiftUI does not provide us with any paging mechanism for lists by default, so in this tutorial we are going to implement it.
Although we can access an element in the current iteration in the List view's content block, we know nothing about its current position in the list or whether it is near the end of the list. That's where pagination comes in. Pagination can mean different things to different people. So we have to define it: While scrolling, the list should find and add items from the following pages. A loading view should be shown when the user reaches the end of the list and a request is still in progress. With this end in mind, let's implement a solution that fixes these problems and adds pagination support to the List view.
Environment
This tutorial is written using the following environment:
- Hardware: MacBook Pro 15' (2.5 GHz Intel Core i7, 16GB DDR3, mid-2015)
- Operating system: macOS Catalina 10.15
- Software versions:
- Xcode: 11
- iOS SDK: 13.4
It is important to know that to try SwiftUI you need to install Mac OS Catalina 10.15 and Xcode 11.
First approach
In this section, we will look at two different approaches. The first approach is more obvious, advanced users may appreciate the user-oriented functionality of the second approach.
A simple solution is to check if the element in the current iteration is the last element in the list. If that is true, we trigger an asynchronous request to retrieve the elements from the next page.
Because the List view implements RandomAccessCollection, we can create an extension and implement an isLastItem function. The key is the Self requirement, which restricts the extension to collections where elements conform to the Identifiable protocol.
extension RandomAccessCollection where Self.Element: Identifiable {
    func isLastItem<Item: Identifiable>(_ item: Item) -> Bool {
        guard !isEmpty else {
            return false
        }

        guard let itemIndex = firstIndex(where: { $0.id.hashValue == item.id.hashValue }) else {
            return false
        }

        let distance = self.distance(from: itemIndex, to: endIndex)
        return distance == 1
    }
}
Pass an element that implements the Identifiable protocol to the function, and it returns true if the element is the last element in the collection.
The function looks up the index of the given element in the collection. It uses the hash value of the id property (required by the Identifiable protocol) to compare it with the other elements in the list. If the element index is found, that means that the distance between the element index and the final index must be exactly one (the final index is equal to the current number of elements in the collection). This is how we know that the given element is the last element.
Instead of comparing hash values, we can use the AnyHashable wrapper to directly compare ids that are of type Hashable.
guard let itemIndex = firstIndex(where: { AnyHashable($0.id) == AnyHashable(item.id) }) else {
    return false
}
Now that the foundation is laid, we can implement the user interface.
# The graphical interface
We want to trigger an update of the list if the end is reached. To achieve this, we can use the onAppear modifier in the root view of each element. (In this example, it is a VStack). This calls the listItemAppears function below. If the item in the current iteration is the last item, a loading view will be shown to the user. In this simple example, it is LoadingView(). Since SwiftUI is declarative, the following code should be self-explanatory:
VStack() {
                List {
                    ForEach(self.viewModel.characters, id: \.id) { character in
                        NavigationLink(
                            destination: DetailView(result: character)
                        ) {
                                VStack(spacing: 10) {
                                  Text("\(character.name ?? "")").frame(maxWidth: .infinity, alignment: Alignment.leading)
                                    if self.viewModel.state == MarvelViewModel.State.loading &&
                                      self.viewModel.characters.isLastItem(character) {
                                        Divider()
                                        LoadingView()
                                    }
                                }.onAppear {
                                self.listItemAppears(character)
                                self.animationStarted = true
                            }
                        }
                    }.onDelete { indices in
                        indices.forEach { self.viewModel.characters.remove(at: $0) }
                    }
                }
            }
        }.frame(maxHeight: .infinity, alignment: .top)
    }
The listItemAppears helper function internally checks whether the given item is the last item. If it is the last element, the current page is incremented and the elements on the next page are added to the list. Additionally, we keep track of the loading status through the isLoading variable, which defines when to display the loading view.
extension ListPaginationExampleView {
    private func listItemAppears<Item: Identifiable>(_ item: Item) {
      if self.viewModel.characters.isLastItem(item: item) {
            self.viewModel.page+=1
            self.viewModel.loadCharacters(searchTerm: self.viewModel.searchText)
        }
    }
}
With this implementation, we extract the next page of elements only if the element in the current iteration is the last element. But that's not really the best user experience, right? In a real application, we want to preload the next page if a defined threshold is reached or exceeded. Additionally, we should only interrupt the user with a loading indicator if it is really necessary (i.e. if the request takes longer than expected). This, in my opinion, would lead to a better user experience. Given these user experience concerns, let's move on to the second approach.
Second approach
Here we will learn how to get the next page of items if a certain threshold is exceeded. Again, we'll start by extending RandomAccessCollection. This time we will implement a function called isThresholdItem that determines if the given item is the threshold item.
extension RandomAccessCollection where Self.Element: Identifiable {
    func isThresholdItem<Item: Identifiable>(offset: Int,
                                             item: Item) -> Bool {
        guard !isEmpty else {
            return false
        }

        guard let itemIndex = firstIndex(where: { AnyHashable($0.id) == AnyHashable(item.id) }) else {
            return false
        }

        let distance = self.distance(from: itemIndex, to: endIndex)
        let offset = offset < count ? offset : count - 1
        return offset == (distance - 1)
    }
}
This function finds the index of the given element. If found, calculate the distance to the final index. The specified offset (i.e. the number of elements before the end) must be equal to the distance: 1. We have to subtract 1 from the distance because the end index is equal to the value of the count property (i.e. the current number of elements in the collection). I also added a simple validation check for the offset. The offset must be less than the current number of elements in the collection.
Now we are ready to move on to the user interface once again.
The UI implementation is almost identical to our UI in the first approach. However, there is one key difference, and it is in the listItemAppears function.
Note that here we reuse the isLastItem function from the first approach. The loading view will be displayed only if the user reaches the end of the list and the request for the next page is still in progress.
List {
        ForEach(self.viewModel.characters, id: \.id) { character in
                        NavigationLink(
                            destination: DetailView(result: character)
                        ) {
                                VStack(spacing: 10) {
                                  Text("\(character.name ?? "")").frame(maxWidth: .infinity, alignment: Alignment.leading)
                                    if self.viewModel.state == MarvelViewModel.State.loading && self.viewModel.characters.isLastItem(character) {
                                        Divider()
                                        LoadingView()
                                    }
                                }.onAppear {
                                self.listItemAppears(character)
                                self.animationStarted = true
                            }
                        }
                    }
                }
            }
        }.frame(maxHeight: .infinity, alignment: .top)
    }
Instead of calling isLastItem, we call isThresholdItem to check if the given item is the threshold item.
extension ListPaginationThresholdExampleView {
    private func listItemAppears<Item: Identifiable>(_ item: Item) {
        if items.isThresholdItem(offset: offset,
                                 item: item) {
            isLoading = true
            /*
                Request another batch of data when the item reaches the threshold
             */
            if self.viewModel.characters.isThresholdItem(offset: 16, item: item) {
               self.viewModel.page+=1
               self.viewModel.loadCharacters(searchTerm: self.viewModel.searchText)
            }
        }
    }
}
If you're a particularly attentive reader, you may have noticed that some pieces of code are missing.
getMoreItems
Below is the implementation of the getMoreItems function:
extension ListPaginationExampleView {
    /*
        In a real app you would probably fetch data
        from an external API.
     */
    private func getMoreItems(forPage page: Int,
                              pageSize: Int) -> [String] {
        let maximum = ((page * pageSize) + pageSize) - 1
        let moreItems: [String] = Array(items.count...maximum).map { "Item \($0)" }
        return moreItems
    }
}
String + Identifiable
Here is the final extension needed for the List view code to work:
/*
    To display an array of String values in a List view,
    you normally need to specify a key path so that each String
    can be identified uniquely. This extension removes that requirement.
 */
extension String: Identifiable {
    public var id: String {
        return self
    }
}
This String extension makes it easy to directly use a String array in the related list view initializer.
Result
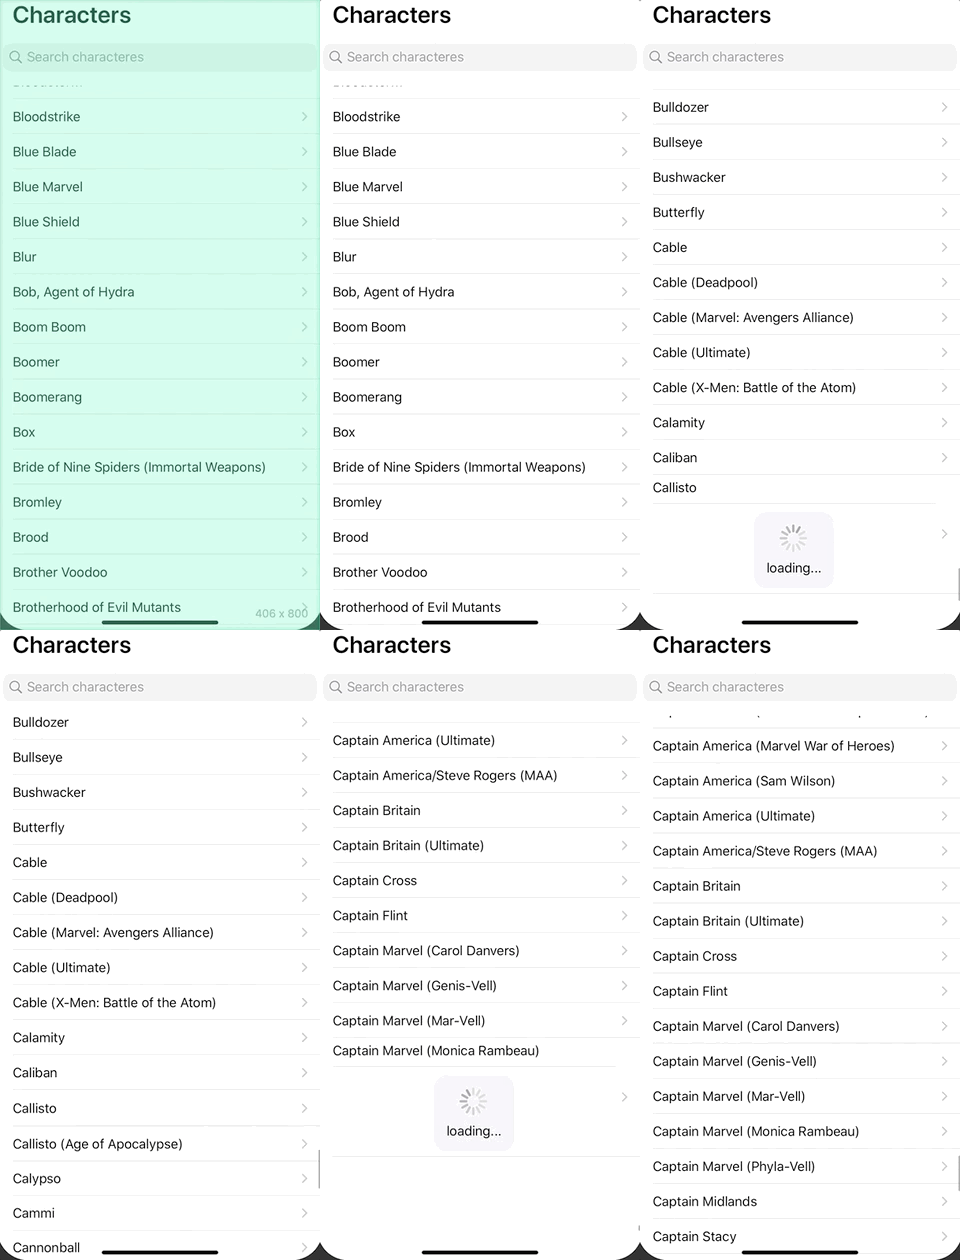
Finally, let's look at our results. The first GIF shows the approach with isLastItem:
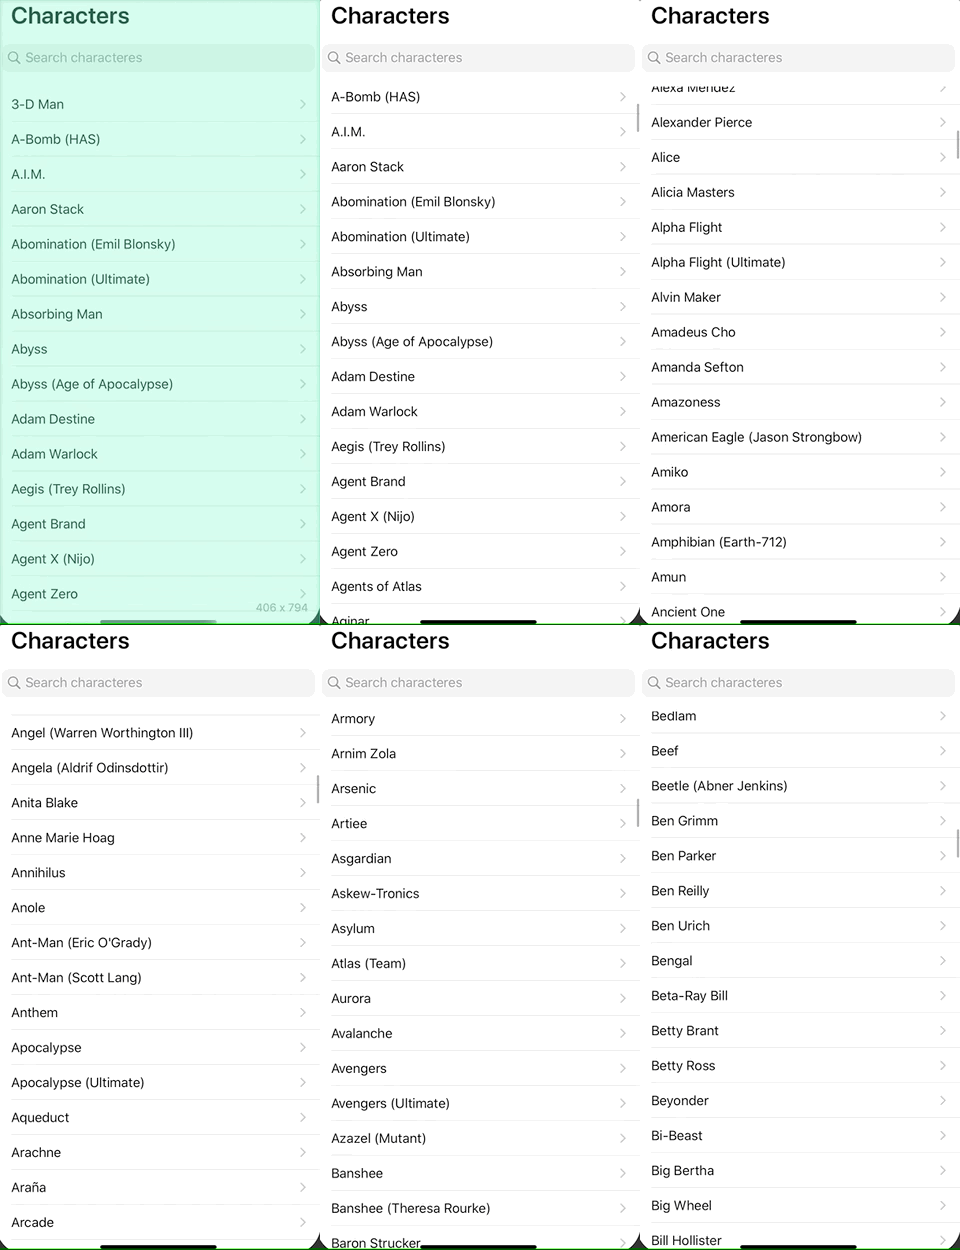
The following gif shows the approach with isThresholdItem:
Congratulations! Now you're ready to use pagination in your SwiftUI lists.
Conclusions
We have done our pagination implementation in SwiftUI lists. As you have seen it is quite simple, but I think that Apple in the future will add special methods in the List component to make pagination easier. But it is always good to make your version to better understand the internal workings of any system/component.