
First application with Google Apps Script
2021-02-18
- Automation with Google Apps Script
- Create a project
- Creating the script
- Deploy the script
- Conclusions
- References
Automation with Google Apps Script
Google Apps Script is a cloud-based program creation platform that allows you to easily extend the functionality of Google Apps and create lightweight applications.
With Apps Script, you can do cool things like automate repetitive tasks, create documents, email people automatically, and connect your spreadsheets to other services. You can also use Apps Script to add custom menus, dialog boxes, and sidebars to Google Sheets. It allows you to write your own functions for spreadsheets. Also integrate spreadsheets with other Google services such as Calendar, Drive and Gmail, etc.
# Overview
Google Apps Script includes special APIs that allow you to programmatically create, read, and edit sheets. Apps Script can interact with Google Sheets in two general ways: any script can create or modify a spreadsheet if the script user has the appropriate permissions to do so, and a script can also be embedded in a spreadsheet/document, which gives the script special abilities to modify the user interface or respond when the spreadsheet is opened.
Apps Script is versatile. Among other things, it allows you:
- Add custom menus, dialogs and sidebars to Documents, Sheets and Google Forms.
- Add custom functions and macros for Google Sheets.
- Publish web applications, whether independent or integrated into Google Sites.
- Interact with other Google services, including AdSense, Analytics, Calendar, Drive, Gmail and Maps.
- Create add-ons to extend Google Docs, Sheets, Slides and Forms, and publish them in the add-on store.
- Optimize Google Chat workflows by creating a chatbot.
Create a project
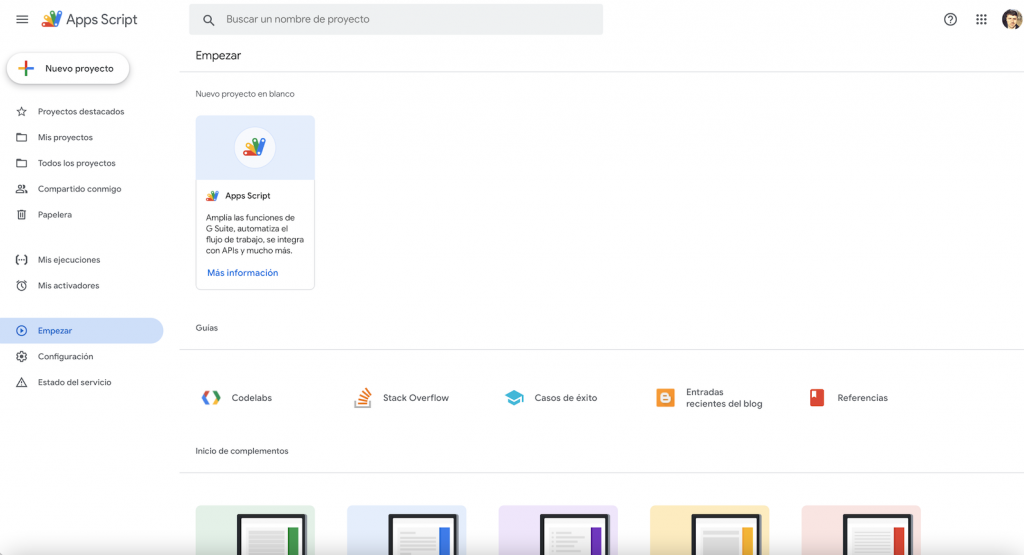
To create a new project you have to go to script.google.com and click the New project button. In this way we create the independent project.
But you can also create a project embedded in the document/spreadsheet etc. For this you need to go to Tools -> *Script Editor.*At the top left of the script editor, click on Untitled Project. You must enter a name for your project and click Rename.
The file to which an embedded script is attached is called a "container." Embedded scripts generally behave like standalone scripts, except that they don't appear in Google Drive, they can't be separated from the file they're linked to, and they get some special privileges over the parent file. Scripts embedded in Sheets, Docs, Slides, or Forms can also be converted to web applications, although this is rare.
Another possible way to create projects is through Google Drive. In the Google Drive interface, press the New button -> More -> Google Apps Script. You can also create a project using the clasp command line tool that allows you to create, download and upload Apps Script projects from a terminal. See the commands with Google guide for more details.
A script project represents a collection of files and resources. You can have one or more script files which can be code files (with .gs extension) or HTML files (.html extension). You can also include JavaScript and CSS in HTML files. The cloud script editor always has one and only one project open at any given time. You can open multiple projects in multiple browser windows or tabs.
# Manifesto
The configuration of a project is in the file called the manifest. An Apps Script project manifest is a special JSON file that specifies the basic project information that Apps Script needs to run the script successfully. Apps Script automatically creates and updates the project manifest as you create your script project and make changes in the Apps Script editor. In most cases, you never need to view or edit the manifest directly; However, in certain situations it may be beneficial or necessary. To see the manifest you have to go to Project Settings -> Show the manifest file “appsscript.json” in the editor.
// The standard manifest
{
  "timeZone": "America/New_York",
  "dependencies": {},
  "exceptionLogging": "STACKDRIVER",
  "runtimeVersion": "V8"
}
Creating the script
Let's create an embedded script to interact with the spreadsheet and create the calendar events and invite other users. We also want you to send an email with the event information for each of the guests.
To operate with the spreadsheet we have to use the Spreadsheet* service.*The Spreadsheet service treats a spreadsheet as a grid, operating with two-dimensional arrays. To retrieve spreadsheet data, you must access the spreadsheet where the data is stored (SpreadsheetApp.getActive()), get the data for the current tab (activeSheet.getActiveSheet()) or any tab by name (activeSheet.getSheetByName('Name')), get the range containing the data (sheet.getDataRange()), and then get the values of the cells in this range (range.getValues()). Apps Script makes it easy to access data by reading data and creating JavaScript objects for it.
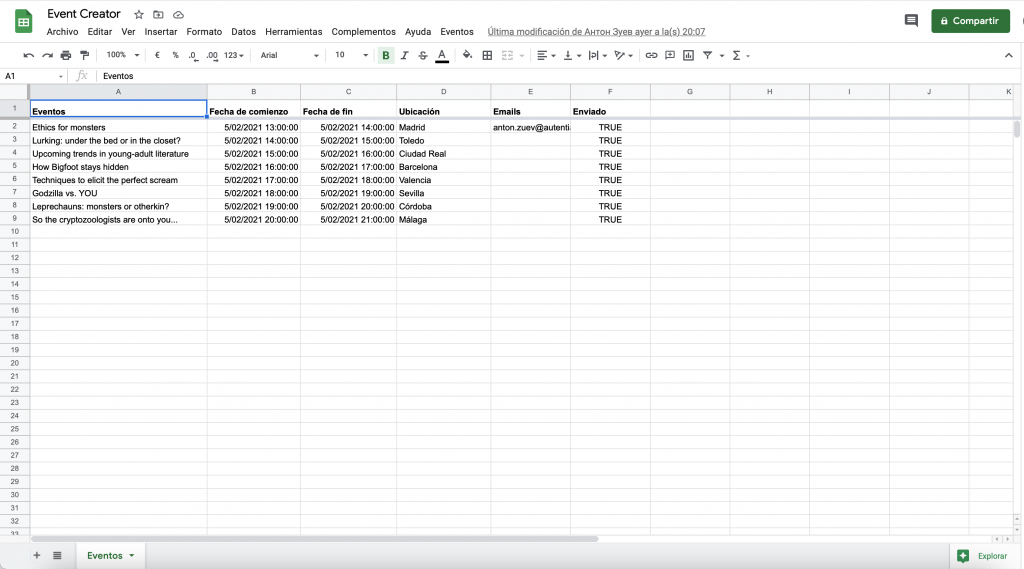
First we have to create a table in the spreadsheet that contains the data necessary to feed our script. The table will have the following columns "Events" (the event name), "Start date", "End date", "Location", "Emails" (the guests' emails), "Sent" (here we put "TRUE" in case the sending has been successful). We put the guests' emails like this "abc@gmail.com, bcd@gmail.com" for each event. We can leave the "Emails" field empty if we don't want to invite anyone.
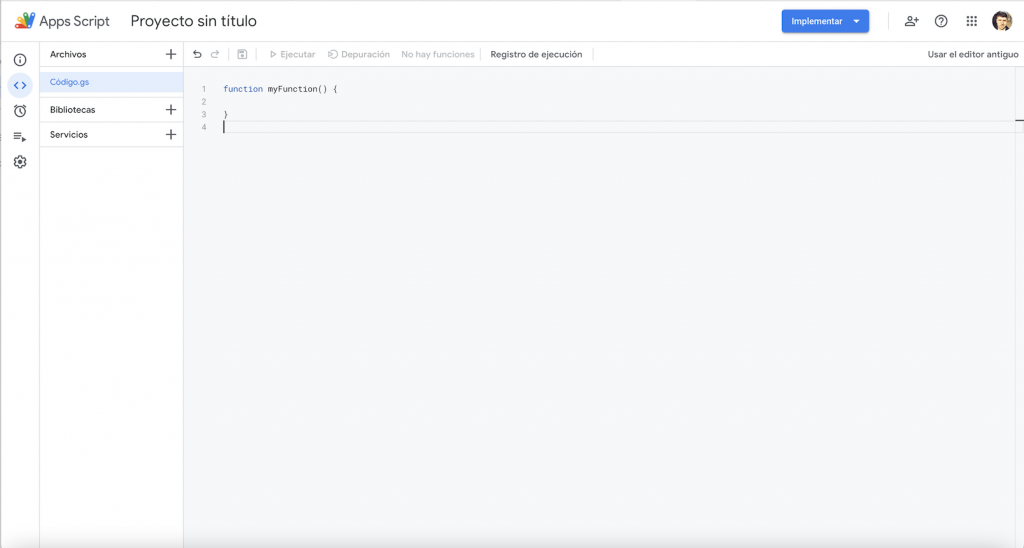
Now we have to create the script. We have to press «Tools» -> «Script Editor». When you do this, the following image appears.
# The code
Here we are going to write our code. Since our project is quite simple, we are going to create all the code in the same file. The onOpen() function is executed when our spreadsheet is opened. It is a default function that Google gives us to execute tasks when opening our "container." Here we add the "Events" menu item to launch our script.
**
* The function that runs when the spreadsheet opens
*/
function onOpen() {
   const menu = [{name: 'Send events', functionName: 'sendEvents'}];
   SpreadsheetApp.getActive().addMenu('Events', menu);
}
Clicking "Send events" executes the sendEvents() function that uses the Spreadsheet API to obtain the values from our spreadsheet. This function passes the values to another function called *setUpCalendarAndEvents().*The purpose of *setUpCalendarAndEvents()*is to create our Calendar events and attach the guests.
/**
* The function that sends the events
*/

function sendEvents() {
   const activeSheet = SpreadsheetApp.getActive();
   const sheet = activeSheet.getSheetByName('Events');
   const range = sheet.getDataRange();
   const values = range.getValues();
   setUpCalendarAndEvents_(values, range);
   createEmailAndDoc_(values);
}
# Creating events
In order to access Google Calendar we have to use Calendar Service. Within our function setUpCalendarAndEvents() we check if the calendar “Events” already exists. If it doesn't exist we create it. With the values that have been passed on to us we create the events and attach the guests to these events.
/**
* Creates the calendar and events with the guests attached
*/

function setUpCalendarAndEvents_(values, range) {
   //check if the calendar "Events" already exists
   let cal = undefined;
   if (CalendarApp.getCalendarsByName('Events').length > 0) {
     cal = CalendarApp.getCalendarsByName('Events')[0];
   } else {
      cal = CalendarApp.createCalendar('Events');
   }
   for (var i = 1; i < values.length; i++) {
     let session = values[i];
     const title = session[0];
     const start = session[1];
     const end = session[2];
     const options = {location: session[3], sendInvites: true};
     const event = cal.createEvent(title, start, end, options).setGuestsCanSeeGuests(false);
     const emails = session[4];
     const userEmailsArray = getUsersEmails(emails);
     session[5] = true;
     for(var index in userEmailsArray){
        event.addGuest(userEmailsArray[index]);
     }
   }
   range.setValues(values);
}
# Working with emails
To remove the emails from a chain (String) that contains them we have to create another function that makes use of the standard JavaScript function split() and separates our chain using the separator ",". From the array that we obtain, we extract each email one by one, eliminating the spaces at the beginning and at the end of the String with the help of the trim() function.
/**
* Returns an array of email addresses from a comma-separated String ("abc@xyc.com,xyz@yax.com,cde@bcd.com")
** */
function getUsersEmails(userEmailsString) {
 let userEmails = []
 if (userEmailsString.length > 0) {
   const emailsArray = userEmailsString.split(',')
   for(var index in emailsArray){
     let email = emailsArray[index].trim();
     userEmails.push(email);
   }
  }
  return userEmails;
}
In the end we create the documents in Drive and then attach them to the emails we send.
/**
* Finds email addresses in the spreadsheet and sends the invitations
*/
function createEmailAndDoc_(values) {
 for (var i = 1; i < values.length; i++) {
   const eventInfo = values[i];
   // Find users email
   const emails = getUsersEmails(eventInfo[4]);
   for(var index in emails){
     const doc = createDoc(emails[index], eventInfo);
     sendEmails(emails[index], doc)
   }
 }
}
Let's use the MailApp API to send emails with the links to the created documents.
/**
* Sends the emails
*/
function sendEmails(userEmail, doc) {
   // Email a link to the Doc as well as a PDF copy.
   MailApp.sendEmail({
   to: userEmail,
   subject: doc.getName(),
   body: 'Here are your events: ' + doc.getUrl(),
   attachments: doc.getAs(MimeType.PDF)
 });
}
# Creating a Google Document
To create a Google Document you must use the DocumentApp API. We also add guest as "editor" of our document, so that he can edit it himself later. Then we create the table with the columns that have the same names as our spreadsheet. We also convert the dates to the user's local zone with toLocalDataString().
/**
 Creates documents containing event information
*/
function createDoc(userEmail, response) {
  let doc = DocumentApp.create('Eventos').addEditor(userEmail);
  let body = doc.getBody();
  let table = [['Session', 'Start', 'End', 'Location']];
  table.push([response[0], response[1].toLocaleDateString(),
  response[2].toLocaleDateString(), response[3]]);
  body.insertParagraph(0, doc.getName())
  .setHeading(DocumentApp.ParagraphHeading.HEADING1);
  table = body.appendTable(table);
  table.getRow(0).editAsText().setBold(true);
  doc.saveAndClose();
  return doc;
}
Now let's test our script. We are going to go to the menu that we have added: «Events -> Send events».
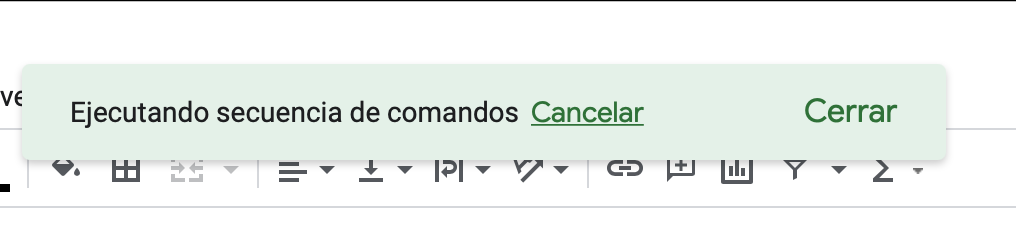
The message “Executing script” appears and if everything goes well, emails will soon begin to arrive to the guests with information about the events. We can also check our “Events” calendar if it has new events, created by our script.
Deploy the script
An Apps Script project implementation is a version of the script that is available for use as a web application, add-on, or API executable. By creating and managing deployments, you can iterate your code, track your changes, and control the exact version of code your users have access to. There are two types of deployments: head deployments, which are always synchronized with the current code, and versioned deployments, which are connected to a specific version of the project.
# Main implementations (head)
A primary implementation is the current project code. When you create an Apps Script project, a master implementation is automatically created for that project. The head implementation is always in sync with the most recently saved code. For example, if you create a versioned implementation and then modify its code, the main implementation reflects those changes, while the versioned implementation remains intact. You have to use the main implementations to test the code. Do not use core implementations for public use.
# Versioned implementations
In Apps Script, a version is a snapshot of the code. Versions are created automatically with each new deployment. A versioned deployment makes available a specific version of the project code. This allows your users to continue using a working version while you can make changes and improvements to the code. When your app is released for public consumption, always use a versioned deployment. With the Google Apps Script IDE you can only have one active versioned implementation. But if you use clasp you can create more than one active implementation. All active deployments will be available in the cloud IDE.
To create a versioned deployment, follow these steps:
- Open the Apps Script project.
- At the top right, click Deploy -> New Deployment.
- Next to “Select Type,” click Enable Deployment Type Configuration. Select the type of deployment you want to deploy (Web application, plugin, API executable, library).
- Enter information about your deployment and click Deploy.
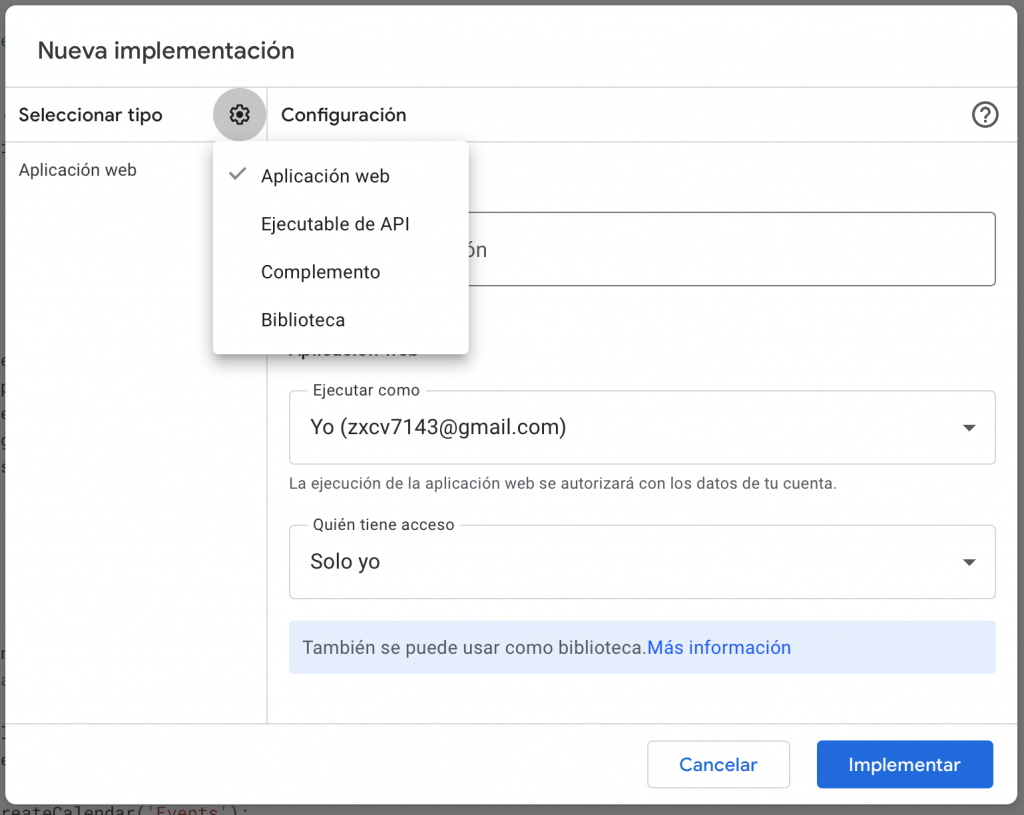
To view deployments for an Apps Script project, at the top, click Deploy -> Manage Deployments.
# Web Application
Both stand-alone scripts and scripts embedded in Google Workspace apps can be converted to web apps, as long as they meet the requirements below.
- have the doGet(e) or doPost(e) functions implemented
- these functions return an HtmlOutput or TextOutput object
# Add-ons
The plugins run on Gmail, Google Sheets, Docs, Slides, and Forms. If you have developed an embedded or standalone script and want to share it with the world, Apps Script allows you to publish your script as a plugin so that other users can install it from the plugin store.
# Executable API
The Apps Script API provides a “scripts.run” method that remotely executes a specific Apps Script function. You can use this method in an app to run a function from your Google Script Apps projects remotely and receive a response. First you have to deploy your project as an executable API. Then execute the POST request to *«https://script.googleapis.com/v1/scripts/{scriptId}:run»*with the scriptId of your script and wait for the response. You can read more information in the official documentation.
Conclusions
With the help of Google Apps Script we can create incredibly complex things that can help us in our daily lives. Apps Script uses the same HTML and JavaScript and that's why there are practically no limits when it comes to creating our solution. The limits appear if we want to scale our app, so that many people can use it at the same time. Team development is also complicated, although there are solutions like CLASP. But as a proof of concept or for a relatively small app that will not have many users, Google App Script gives you many tools "by default" that facilitate the development process.