
The use of property wrappers
2020-05-14
- Introduction
- Environment
- How to create your own property wrapper
- @State and @Binding: the keys of SwiftUI
- How to use @EnvironmentObject and @Environment
- How to use @Published and @ObservedObject
- Conclusions
- References
Introduction
With the introduction of Swift 5.1 we now have the property wrapper: a fundamental thing in SwiftUI. A property wrapper adds a layer of separation between the code that manages how a property is stored and the code that defines a property. For example, if you have properties that provide process safety checks or store their data in a database, you must write this code in each property. When using a property wrapper, you write the management code once when you define the property wrapper, and then you reuse this management code by applying it to multiple properties. There are property implementation patterns that arise repeatedly. That's why they have introduced a general "properties wrapper" mechanism to allow these patterns to be defined only once.
Environment
This tutorial is written using the following environment:
- Hardware: MacBook Pro 15' (2.5 GHz Intel Core i7, 16GB DDR3, mid-2015)
- Operating system: macOS Catalina 10.15
- Software versions:
- Xcode: 11
- iOS SDK: 13.4
It is important to know that to try SwiftUI you need to install Mac OS Catalina 10.15 and Xcode 11.
How to create your own property wrapper
The following code shows a pattern that you will be able to recognize. An enumeration of the keys is created within the extension of the UserDefaults class to make the properties accessible without having to paste the String keys throughout the project.
extension UserDefaults {
/// Indicates whether or not the user has seen the introduction.
       var hasSeenIntroduction: Bool {
         set { set(newValue, forKey: Keys.hasSeenIntroduction) }
         get { return bool(forKey: Keys.hasSeenIntroduction) } }
       }
       public enum Keys {
         static let hasSeenIntroduction = "has_seen_introduction"
    }
}
Setting and obtaining values is allowed as follows:
UserDefaults.standard.hasSeenIntroduction = true
guard !UserDefaults.standard.hasSeenIntroduction else { return }
showIntroduction()
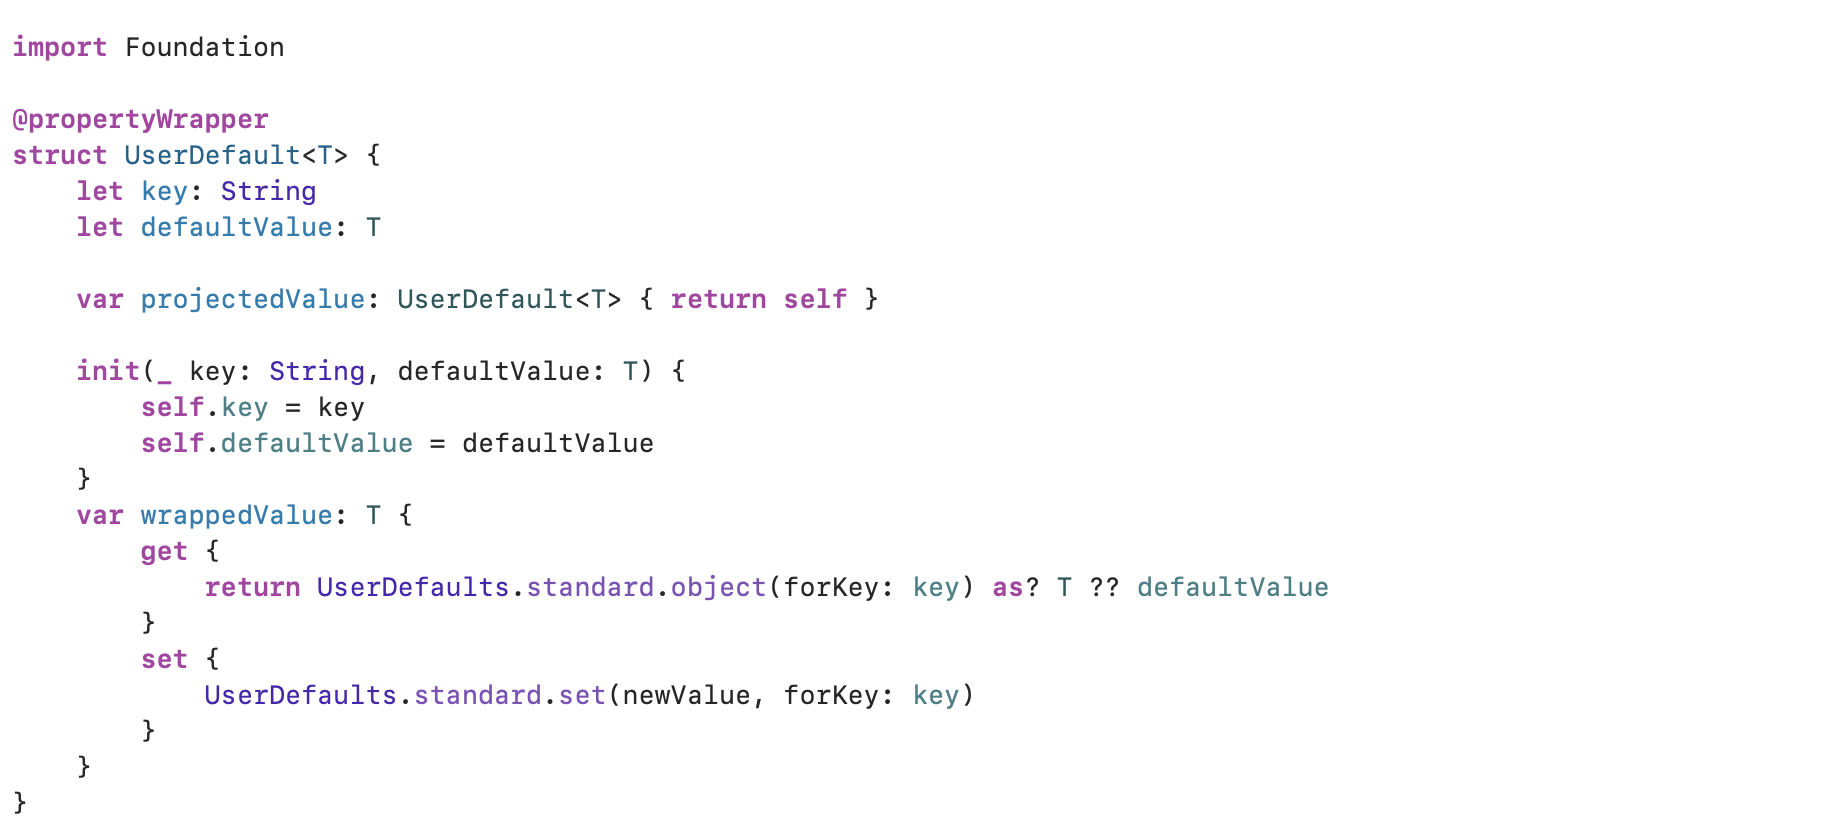
Now, as this seems to be a good solution, it could easily end up being a large file with many keys and properties defined. But there is a way to make the code even easier. With the property wrapper. We just have to add the keyword @propertyWrapper and have a wrappedValue property (required) to make it the property wrapper.
@propertyWrapper
struct UserDefault<T> {
    let key: String
    let defaultValue: T

    init(_ key: String, defaultValue: T) {
        self.key = key
        self.defaultValue = defaultValue
    }
    var wrappedValue: T {
        get {
            return UserDefaults.standard.object(forKey: key) as? T ?? defaultValue
        }
        set {
            UserDefaults.standard.set(newValue, forKey: key)
        }
    }
}
The wrapper allows a default value to be passed in case there is not yet a registered value. We can pass any type of value since the wrapper is defined with a generic value T. Unfortunately, we cannot use the property wrapper in an extension in UserDefaults. Instead, we have to create a new container object that we call UserDefaultsConfig in this example. The reason for this is that stored class properties are not compatible with class extensions.
The new container can be defined as follows:
struct UserDefaultsConfig {
    @UserDefault("has_seen_introduction", defaultValue: false)
    static var hasSeenIntroduction: Bool
}
As you can see, we can use the initializer of the defined property wrapper. We pass the same key we used before and set the default value to false. Using this new property is simple:
UserDefaultsConfig.hasSeenIntroduction = false
print(UserDefaultsConfig.hasSeenIntroduction) // Prints: false
UserDefaultsConfig.hasSeenIntroduction = true
print(UserDefaultsConfig.hasSeenIntroduction) // Prints: true
This way we can create our own property wrappers, but SwiftUI already provides us with different property wrappers.
In addition to a wrapped value, a property wrapper can also provide an additional value (projectedValue); For example, a property wrapper that manages access to a database can expose the connection state to the database. The name of the projected value is the same as the wrappedValue, except that it begins with a dollar sign ($). Because you cannot define properties beginning with $ in your code, the projected value never interferes with the properties you define.
@State and @Binding: the SwiftUI keys
SwiftUI uses property wrappers extensively. The most important ones are @State and @Binding. Typically a persistent value of a given type is marked with @State, through which a view reads and observes the value. SwiftUI manages the storage of any properties you declare as @State. When the value of this property changes, the view overrides its appearance and recalculates the body (the body method). Use the @State property as the single source of truth for a given view. A @State property is not the value itself. It is a means of reading and mutating the value. Only access a @State property from inside the body of the view (or from functions called by it). For this reason, you have to declare your @State properties as private, to prevent clients of your view from accessing them. A Binding can be obtained from State through its 'binding' property, or by using the '$' prefix operator.
And what is a binding? Binding is a binding of a value that provides a way to mutate it. It is used to create a two-way connection between a view and its model. For example, you can create a binding between a Toggle component and a @State boolean property. Interacting with the component changes the Bool value, and mutating the Bool value causes the component to update its state.
Warning!: @State properties must always be related to a view in SwiftUI. So make sure you always declare them inside a View structure (but not inside the view's body)!
# @State
So what does a @State property do? Well, you can read and manipulate data just like you do with regular variables in Swift. But the key difference is that every time the data in a @State changes, the related view is rebuilt.
struct ContentView: View {

    @State var myInteger = 1

    var body: some View {
        VStack {
            Text("\(myInteger)")
            Button(action: {self.myInteger += 1}) {
                Text("Tap me!")
            }
        }
    }
We have an integer variable wrapped in a @State. In the related view, we have a text object that reads data from the @State and a button. When we touch the button, the @State value increases. As we have learned, this manipulation causes the entire view to be repainted and the Text component finally displays the updated value.
@State properties should always be related to a specific view. But sometimes we want to access a @State property from the outside, for example from child views.
# @Binding
To create such a reference, we use the @Binding property wrapper. For example, if we want to create a binding from a child view to the view that contains the State property, simply declare a variable inside the child view and mark it with the @Binding keyword.
struct ChildView: View {

    @Binding var myBinding: String

    var body: some View {
        //...
    }
}
You can then create the binding to the @State by initializing the child view with reference to the @State using the "$" syntax.
struct ContentView: View {

    @State var myBinding = "Hello"

    var body: some View {
         ChildView(myBinding: $myBinding)
    }

}
And then you can use the binding like you do with @State properties. For example, when you update the @Binding property, it also causes the @State property to change its data, which causes the view to be repainted as well.
struct ContentView: View {

    @State var myInteger = 1

    var body: some View {
        VStack {
            Text("\(myInteger)")
            OutsourcedButtonView(myInteger: $myInteger)
        }
    }

}

struct OutsourcedButtonView: View {

    @Binding var myInteger: Int

    var body: some View {
        Button(action: {self.myInteger += 1}) {
            Text("Tap me!")
        }
    }
}
In the example above, the ContentView contains an @State property that contains an integer and text to display that data. OutsourcedButtonView contains a link to that state and a button to increase the value of the link property. When we tap the button, the @State data is updated via the link, causing the ContentView to redisplay and finally display the new integer.
How to use @EnvironmentObject and @Environment
SwiftUI provides us with the @Environment and @EnvironmentObject property wrappers, but they are subtly different: while @EnvironmentObject allows us to inject arbitrary values into the environment, @Environment is specifically there to work with predefined keys.
For example, @Environment is great for reading things like the context of a Core Data managed object, whether the device is in dark or light mode, what size class its view is displayed in, and more: fixed properties that come from the system. In code, it looks like this:
@Environment (\.horizontalSizeClass) var horizontalSizeClass
@Environment (\.managedObjectContext) var managedObjectContext
On the other hand, @EnvironmentObject is designed to read arbitrary objects from the environment, like this:
@EnvironmentObject var order: Order
That difference may sound small, but it's important because of the way @EnvironmentObject is implemented. When we say that the order object is of type Order SwiftUI will search its environment to find an object of that type and attach it to the order property. However, when using @Environment, the same behavior is not possible, because many things can share the same data type. For example:
@Environment (\.accessibilityReduceMotion) var reduceMotion
@Environment (\.accessibilityReduceTransparency) var reduceTransparency
@Environment (\.accessibilityEnabled) var accessibilityEnabled
The three environment keys return a boolean, so without specifying exactly which key we are referring to it would be impossible to read them correctly.
@EnvironmentObject
It is a property wrapper for creating a data model that, once initialized, can share data with all views in your application. Using @EnvironmentObjects is suitable for passing data to multiple views at once without needing to create an “initialization chain”. But we must keep in mind that we need to create a ViewModel object that implements the ObservableObject interface and that is our model.
class ViewModel: ObservableObject {
    @Published var showingAlert = false
    @Published var name = "Anton"
}
This object can be very simple, but the important thing is that it is a class and implements the ObservableObject interface. Each property can be @Published for Swift to propagate its updates. Or we can implement the ObservableObject protocol manually.
class MyObservableObject: ObservableObject {

    let objectWillChange = PassthroughSubject<MyObservableObject,Never>()

    var myInteger = 1 {
        didSet {
            objectWillChange.send(self)
        }
    }
    func increaseInteger() {
        myInteger += 1
    }
}
It is also important to create ViewModel in the Scene Delegate.
//create ViewModel
var viewModel = ViewModel()

func scene(_ scene: UIScene, willConnectTo session: UISceneSession, options connectionOptions: UIScene.ConnectionOptions) {
        let contentView = ContentView()

        // Use a UIHostingController as window root view controller.
        if let windowScene = scene as? UIWindowScene {
            let window = UIWindow(windowScene: windowScene)
            window.rootViewController = UIHostingController(rootView: contentView.environmentObject(viewModel))
            self.window = window
            window.makeKeyAndVisible()
        }
    }
Then, within each class to use our model, simply declare it with the property wrapper @EnvironmentObject. It's that easy!
struct ContentView : View {
    @EnvironmentObject var viewModel: ViewModel

    var body: some View {
        NavigationView {
                VStack(spacing: 20.0) {
                    ChildView()
                    NavigationLink(destination: DetailView()) {
                        Text("Go to Detail")
                    }
                }
            }.padding(.all, 10.0)
            .navigationBarTitle("Main Page")
        }
}

struct ChildView: View {
    @EnvironmentObject var viewModel: ViewModel

    var body: some View {
        VStack {
            TextField("Placeholder", text: $viewModel.name)
                .padding(.horizontal, 15.0)
            Button(action: {
                self.viewModel.showingAlert = true
            }) {
                Text("Show Alert")
                    .foregroundColor(Color.red)
            }
        }.alert(isPresented: $viewModel.showingAlert) {
        Alert(title: Text("Important message"),
              message: Text("Welcome \(viewModel.name)"),
              dismissButton: .default(Text("Got it!")))
            }
    }
}
This way, we don't have to pass our model through all the classes in our hierarchy. @EnvironmentObject makes our work easier and helps to have only **"one source of truth",**avoiding creating copy-variables in each class.
How to use @Published and @ObservedObject
Observable objects are similar to the @State properties that you already know. But instead of rendering a view based on its allocated data, ObservableObjects are able to do the following:
- observableObjects are classes, not variables
- these classes can contain data, for example a variable of type String
- we can bind one or multiple views to the Observable Object (or rather, we can make these views observe the object)
- views can access and manipulate data within the ObservableObject. When a change occurs to the ObservableObject data, all views are automatically repainted, similar to when a @State property changes
Here is an example on how to implement an ObservableObject:
import SwiftUI
import Combine

struct ContentView: View {

    @ObservedObject var myObservedObject: MyObservableObject

    var body: some View {
        VStack {
            Text("\(myObservedObject.myInteger)")
            Button(action: {self.myObservedObject.increaseInteger()}) {
                Text("Tap me!")
            }
        }
    }

}

class MyObservableObject: ObservableObject {

    let objectWillChange = PassthroughSubject<MyObservableObject,Never>()

    var myInteger = 1 {
        didSet {
            objectWillChange.send(self)
        }
    }

    func increaseInteger() {
        myInteger += 1
    }
}

#if DEBUG
struct ContentView_Previews: PreviewProvider {
    static var previews: some View {
        ContentView(myObservedObject: MyObservableObject())
    }
}
#endif
Make sure you import the Combine Framework and comply with the @ObservableObject protocol. We can make a view observe an ObservableObject by creating an @ObservedObject property. The view can access the ObservableObject and also manipulate its data. In the example above, the view calls the increaseInteger function of ObservableObject which increases the value of the myInteger variable within MyObservableObject. This manipulation causes the ContentView to repaint itself and finally display the updated value.
Conclusions
Property wrappers are a powerful addition to Swift 5, adding a layer of separation between the code that manages how a property is stored and the code that defines a property.
When you decide to use property wrappers, be sure to take into account their drawbacks:
- Property wrappers are not yet compatible with top-level code (currently with Swift 5.2). You cannot define them outside of classes/structures/etc.
- A property with a property wrapper cannot be redefined in a subclass.
- cannot be "lazy", @NSCopying, @NSManaged, @weak or @unowned.
- cannot have a set or get method.
- wrapValue, init(wrapValue) and projectedValue must have the same access control level as the container type.
- A property with a property wrapper cannot be declared in a protocol or an extension.
- Property wrappers require Swift 5.1, Xcode 11 and iOS 13.
- Property wrappers add even more syntactic sugar to Swift, making it difficult to understand and increasing the barrier to entry for newcomers.
Despite all the drawbacks, it is a very powerful and effective mechanism, but it is essential in development for SwiftUI.